Why Your Camera's LCD Lies to You
After shooting a frame, you look at the screen and the image looks bright and well-exposed. You move on. Later on your computer, it's 2 stops underexposed — the highlights are fine but the shadows are crushed and noisy.
The LCD lies because its brightness affects how you perceive the image. Shoot in bright sunlight and even a well-exposed image looks dark on-screen. Shoot in a dark room and an underexposed image looks fine. The histogram doesn't lie. It shows you the actual distribution of tones in the image regardless of ambient brightness, LCD calibration, or how tired your eyes are.
What the Histogram Is
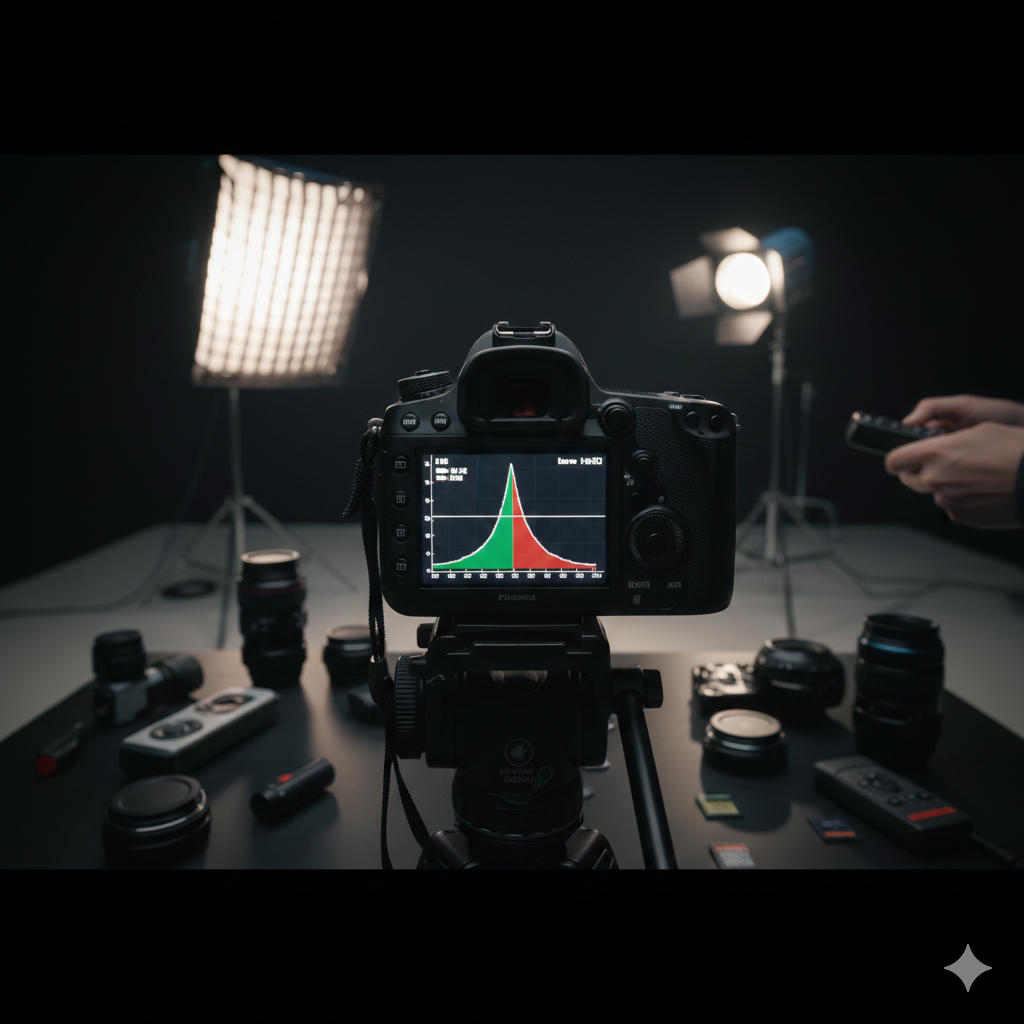
A histogram is a bar chart showing the distribution of tonal values across the image. The horizontal axis runs from pure black (left) to pure white (right). The vertical axis shows how many pixels in the image have that particular brightness value. A tall spike on the left means lots of dark pixels; on the right means lots of bright ones; in the middle means a midtone-heavy image.
There's no single "correct" histogram shape. A low-key portrait will be weighted left. A snowy landscape will be weighted right. A histogram tells you what you have — you decide whether that's what you intended.
Clipping: The One Thing to Avoid
Clipping occurs when tones are pushed beyond the camera's range — either pure black (0, 0, 0) on the left, or pure white (255, 255, 255) on the right. Clipped highlights are blown out: detail is completely gone, unrecoverable. Clipped shadows are crushed: pure black with no texture.
Clipped areas appear as a spike jammed against the left or right wall of the histogram. Some cameras show this graphically with "blinkies" — the overexposed areas flash on the LCD review. Enable this warning if your camera has it. It's one of the most useful diagnostic tools available.
A small amount of clipping is often acceptable — specular highlights (reflections on metal, the sun itself) clip naturally and naturally appear white in the final image. Clipping in skin tones, sky gradients, or textured surfaces is where it becomes a problem.
Expose to the Right (ETTR)
A technique called "Expose to the Right" exploits an important property of digital sensors: more data is captured in the brighter half of the tonal range than the dark half. This is because sensors are linear while human perception is logarithmic.
In practice: when shooting RAW, push your exposure as bright as possible without clipping the highlights. The histogram should be pushed towards the right wall without touching it. The image will look overexposed on the LCD. In post, pull the exposure back down. The result will have significantly less noise in the shadows than an image correctly exposed in-camera or underexposed.
ETTR is most valuable in challenging light — night photography, interiors, situations where noise is a concern. In bright daylight with plenty of light to work with, the difference is minimal.
The RGB Histogram
Most cameras and all editing software can show individual histograms for the Red, Green, and Blue channels separately, rather than a single combined luminosity histogram. This matters because it's possible for one colour channel to clip while the overall luminosity histogram looks fine.
Sunsets are the classic example: the red channel blows out in the warm sky while the green and blue channels look correctly exposed. The luminosity histogram looks reasonable, but detail in the red channel is lost. Checking the RGB histogram would have caught this.
For critical work — commercial photography, any situation where colour accuracy matters — get in the habit of checking all three channels.
Using the Histogram Live
Many cameras can display the histogram in real-time while you're composing the shot — Live View on DSLRs, the electronic viewfinder on mirrorless. This is significantly more useful than reviewing after the fact. You can adjust exposure before you take the shot rather than discovering the problem afterwards.
Enable live histogram display in your camera's settings if it supports it. It becomes second nature quickly, and the combination of live histogram + exposure compensation dial is one of the most powerful tools for getting consistently well-exposed images in varying light.
A Practical Habit
After any shot in challenging light — high contrast scenes, strong backlight, anything unusual — glance at the histogram rather than the image itself. Ask: is anything clipped? Is the distribution where I expected it? If not, adjust and reshoot. This habit, more than any other single thing, will improve your exposure consistency across all lighting conditions.