Why Light Is Everything
Two photographers can stand in the same location with the same camera and lens. One shoots at noon; one shoots an hour before sunset. The photographs will look like they were taken in different countries. The subject hasn't changed. The light has.
Understanding light isn't about memorising settings. It's about learning to see — to notice the quality, direction, and colour of light before you raise the camera, and to make decisions based on what you observe rather than what your eyes have learned to ignore.
Hard Light vs Soft Light
Hard light comes from a small, distant light source relative to the subject — direct midday sun, a bare flash. It creates sharp shadows with defined edges. It's dramatic, high-contrast, and often unflattering for portraits (the shadows under eyes and nose become harsh). It's excellent for texture — raking hard light across a rough stone wall or a face with strong features will reveal every detail.
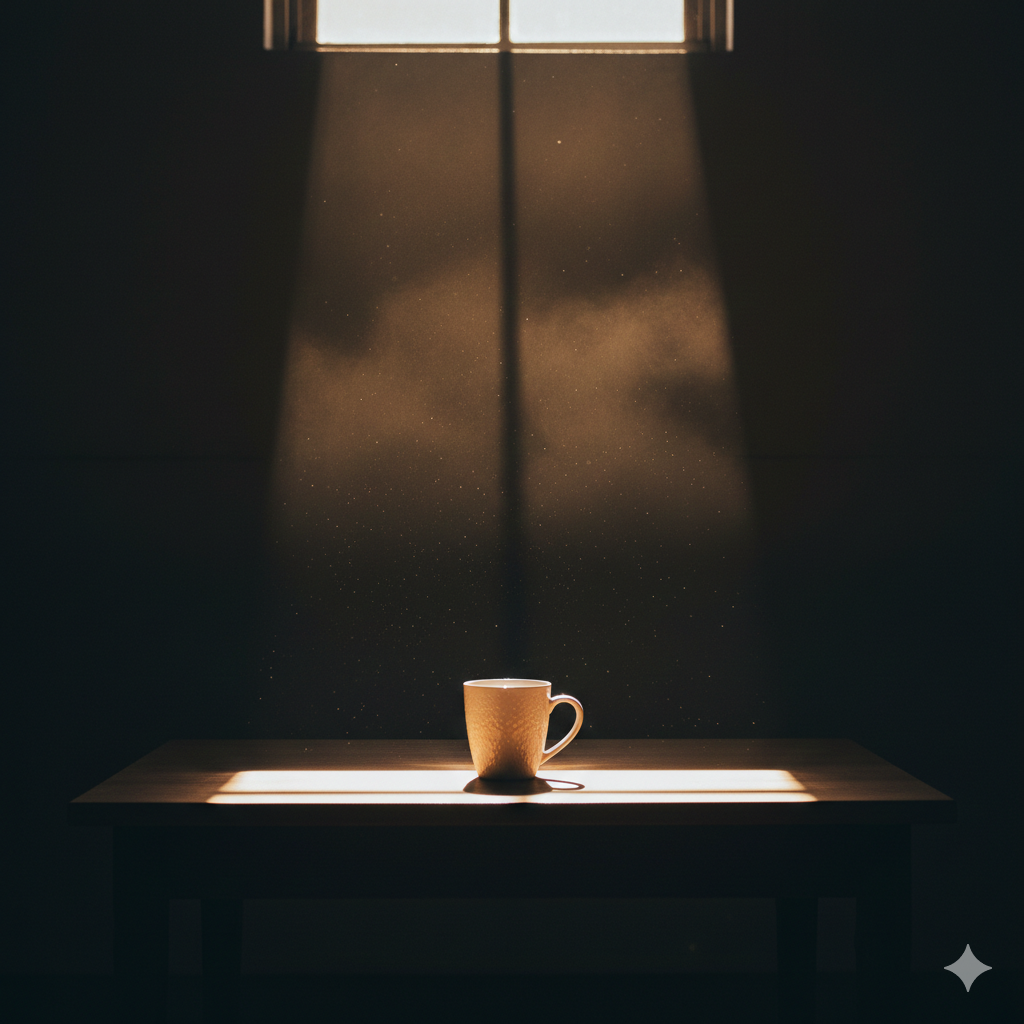
Soft light comes from a large light source relative to the subject — an overcast sky (the entire sky becomes the light source), window light, a softbox. The shadows are gradual and smooth. It wraps around subjects, minimises unflattering shadows, and gives a gentler, more even exposure. Most portrait photographers prefer soft light for exactly this reason.
The key insight: it's not about the sun's intensity. An overcast day is soft light. A clear sunny day is hard light. The clouds diffuse the sun, turning a small harsh point source into a large soft one.
Light Direction
Front lighting (light source behind you, shining onto the subject) is flat and even. Shadows fall behind the subject, out of view. The image looks clean and well-exposed but lacks dimension — subjects look two-dimensional, textures are suppressed.
Side lighting (light from 90 degrees) is the most dramatic option. It creates strong shadows that travel across the subject, revealing every texture and contour. One side of the face is lit, the other is in shadow. It's the classic choice for character portraits and architectural detail shots.
Back lighting (shooting into the light) creates silhouettes or rim light — a halo of light around the subject's edges that separates them dramatically from the background. It's challenging to expose correctly (your meter will try to brighten the frame, silhouetting your subject unless you compensate) but produces images that are hard to replicate any other way.
The Golden Hour
The hour after sunrise and the hour before sunset is called golden hour for a reason. The sun is low on the horizon, which means the light travels through more atmosphere — scattering the blue frequencies and leaving warm reds and golds. Combined with long shadows and a soft, low angle, it's the most flattering light available for free, every single day.
Landscapes shot in golden hour look alive. Portraits shot in golden hour look cinematic. Architecture shot in golden hour takes on a warmth it never has at noon. If you can only change one thing about when you shoot, shoot during golden hour.
The Blue Hour
The 20–30 minutes after sunset (and before sunrise) is called blue hour. The sky transitions through deep blues and purples, and the ambient light becomes extremely soft and even. Artificial lights — street lamps, illuminated windows, neon signs — are now visible and balanced with the ambient sky. It's the ideal time for urban photography and architectural shots that include both the building and the sky.
Colour Temperature
Light has colour. Midday sun is neutral-white. Golden hour is warm orange-red. Shade is cool blue (reflected from the blue sky). Fluorescent lights are green-tinged. Tungsten bulbs are deep orange. Your camera's white balance setting tries to correct for this — the Auto White Balance setting usually does a reasonable job, but it can be fooled.
Understanding colour temperature matters for two reasons. First, mixed light sources in the same scene (a tungsten-lit room with a daylight window) create colour casts that are difficult to correct later. Second, the warmth of golden hour is not a mistake to be corrected — it's a quality to be preserved. Setting a manual white balance (Daylight or Cloudy preset) during golden hour locks in that warmth instead of letting Auto White Balance neutralise it.
Learning to Read Light Before You Shoot
Develop the habit of assessing light before touching the camera. Where is it coming from? How hard or soft is it? What colour is it? What are the shadows doing? Where is the contrast? Once you can answer these questions in a few seconds, you'll naturally start positioning yourself, your subject, and your camera to take advantage of what's there — rather than fighting it.
The photographers who consistently produce beautiful images aren't luckier than you. They've learned to show up when the light is good and to see it clearly when they get there.